|
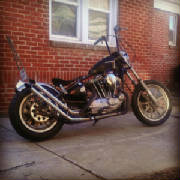
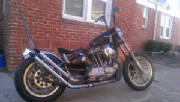
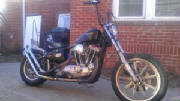
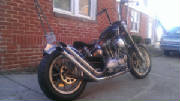
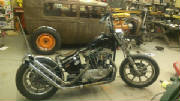
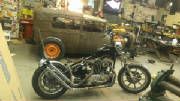
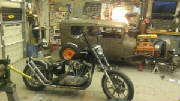
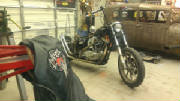
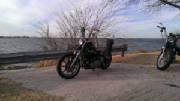
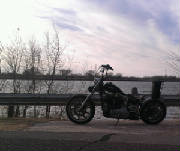
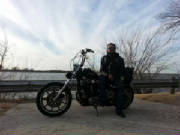
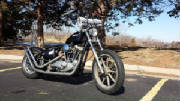
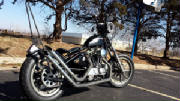
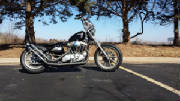
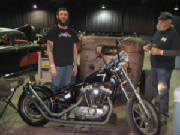
OKC's Morphing Motorcycle -- Josh's Ironhead Sportster
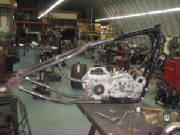
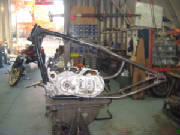
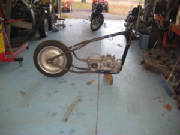
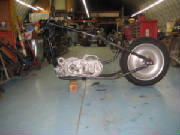
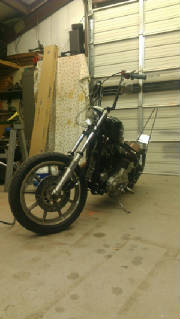
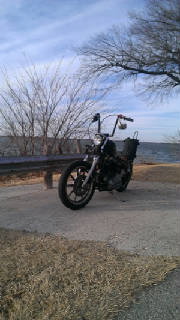
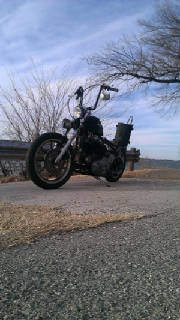
A labor of love and forever a work in progress. Hardtail info: 4" ride height 3/4" HD vintage style axle plates +2" rear stretch Starting life as a 1984 XLX, I picked it up in the end
of August 2013 as a basket case. The roller was there and the motor was complete. The story I got when I bought
it was that the bike was traded to an auto shop back in 2008 to pay a repair bill. The motor was supposedly just rebuilt
and bored 20 over. Of course, that's always to be taken with a grain of salt. After making sure the motor would
actually roll over, I was the proud owner of a roller, a motor, and a bucket full of parts. It even had the clear title
AND a tag with a black tag good until July 2014! I got the motor home and pulled a spark plug to take a look at the
condition of the internals, and much to my surprise, the cylinders had fresh cross hatch and the pistons were nice and shiny
with ".020" stamped in the top. So apparently there might be some truth to the story after all.
I knew
I wanted to go rigid (I actually had everything there to just put it back together stock and ride it, but where's the fun
in that??), so I took the frame to the crew at Cycle One Manufacturing in Locust Grove Oklahoma to have a hard tail section
built and welded on. After getting the frame back the build was on. I picked up a fender blank and electronic
ignition/coil from Cycle One when I picked the frame up. The fender was massaged to fit the curve of the back tire a
little better. I then started hitting swap meets and the local independent cycle shop in OKC to gather parts.
I'll say, if it wasn't for some of my buddies, this build would have never turned out the way it did. A buddy of mine
has a shop at his house which gave me access to a MIG welder and a lathe, among a pile of other tools/equipment that I don't
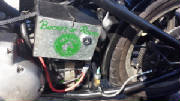
have. We made the bungs for the sissy bar and hand bent the sissy bar itself. I ended up building an electronics
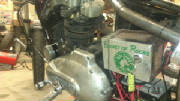
box from steel plate, using an old Rolling Rock bucket that I've had laying around for 10 years as a front cover. (Which
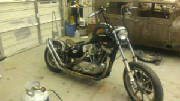
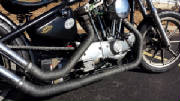
I think added a pretty neat personal touch). I made the pipes out of the stock head pipes and whatever scrap pipe was
laying around the shop. I was super stoked how those turned out, they ended up being exactly what I always had in my
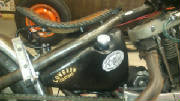
head for this bike. I hand bent a support plate to mount the electronics box and oil bag to. I even used the stock
oil bag, which actually fits really well with the angle of the frame. I tried to make it a point to reuse as many stock
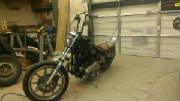
parts as I could. One, for simplicity and two for cost savings. The stock front end left a little to be desired,
and with some severely blown out fork seals, I decided to start looking for other options. A buddy had been storing
an old Ironhead project in my garage for some years, and there just so happened to be a pretty clean 1999 Sportster 39mm front
end laying there. So after a short conversation, it was agreed that I would "borrow" the front end.
The handlebars were a set that I had made several years back when my welding skills weren't exactly up to par. (not
that I'm a welder by any means, but my ability is substantially better than back then). A minor mishap on the road found
a weak weld in the bars so they got cut up and bit of a redesign. Along with some much better welding, I might add.
As of now, it has a rattle can paint job. This will allow me to ride it for a bit, make changes as necessary without
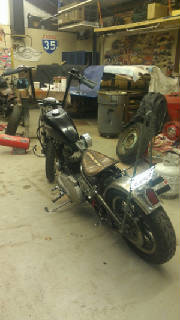
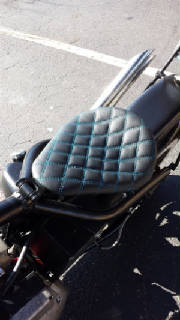
a ton of money loss in paint and powdercoat. Paint will most likely come next winter. The seat was made by a friend
of mine that owns Distinct Customs in OKC. It was kept simple, black Italian leather with blue double diamond stitch.
I felt like since the bike had such a simple flow to it, that keeping the seat simple would be fitting. I ended up "finishing"
it in about 6 weeks. But, it's an evolving creature, for sure. Because there's two words that just don't belong
in the same sentence... "Chopper" and "Finished".
I want to give my appreciation to Red and
Kate from Cycle One, Ashley Wright with Distinct Customs and my long time buddy Clay Dowis. If it wasn't for these folks
help, knowledge and resources, I never would have been able to get this done. I will always be grateful for everything
you've done. |
